If you’ve ever walked into a party and immediately noticed the table looked amazing, chances are there was a balloon centerpiece sitting right in the middle of it. They’re cheap, they’re quick, and honestly they do more heavy lifting for a room than most people expect. Here’s exactly how to create balloon centerpieces yourself, no design background needed.
What Are Balloon Centerpieces?
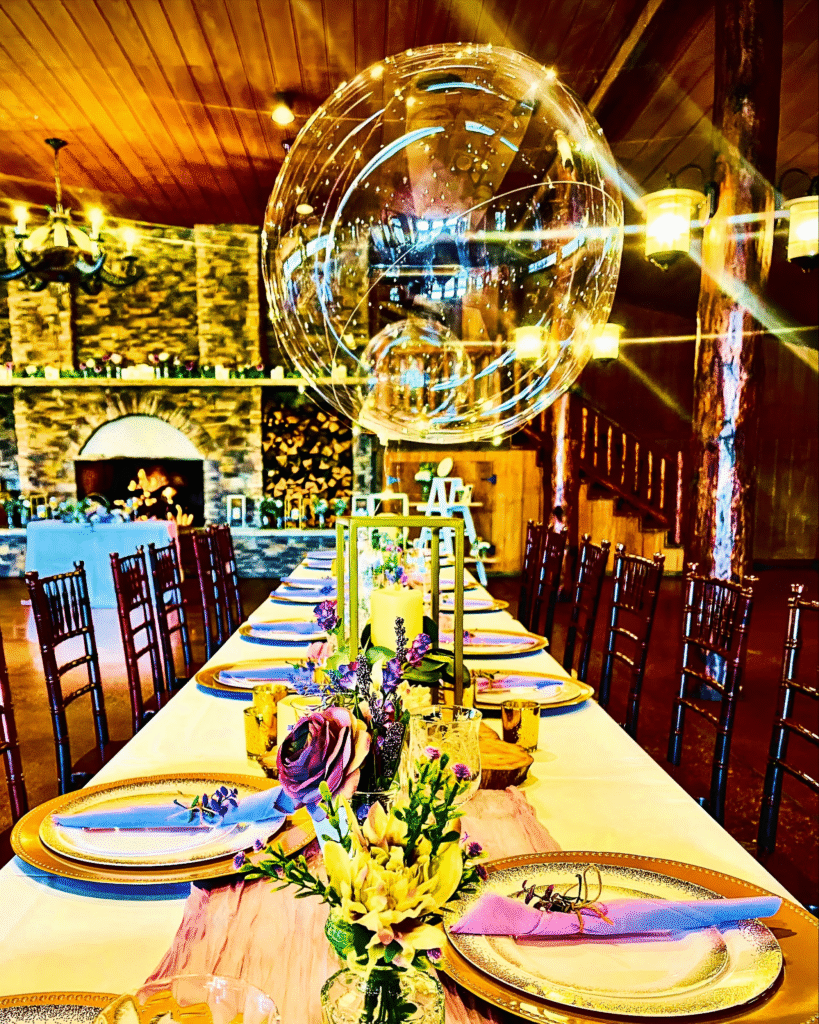
Think of it as a small cluster of balloons built up on a base and placed at the center of a table. Sounds simple because it is, but the effect it has on a room is bigger than you’d guess. I’ve put these together for birthday tables, baby showers, even a work event once when the office looked way too plain. A single balloon centerpiece can shift the whole vibe of a space in about ten minutes flat.
What You’ll Need Before Starting?
Nothing complicated here, just a few basics:
- Balloons, mix two or three sizes
- Sticks or cups made for balloons
- Something heavy for the base
- Glue dots or tape
- A hand pump (helium is optional, not required)
That last point trips people up. You genuinely don’t need helium for this to look good.
The Actual Steps
This part answers exactly what most people search for, a simple process that actually works the first time you try it.
Step 1. Pick your color palette first. Two or three colors that match the party theme always look more put together than random shades thrown in.
Step 2. Inflate the balloons in mixed sizes. Uneven sizing actually makes the arrangement look fuller and more natural.
Step 3. Attach the sticks into the base, this becomes the skeleton of your centerpiece.
Step 4. Push the balloons on to the stick one by one using the largest one on the bottom to get balance of shape.
Step 5. Fill in any gaps with small balloons so nothing looks sparse or empty.
Step 6. Place it on the table and check that it sits steady without tipping over.
Once you get comfortable with this, balloon centerpieces for birthday party setups or any other event become quick to put together, even under fifteen minutes.
Ideas for Different Occasions
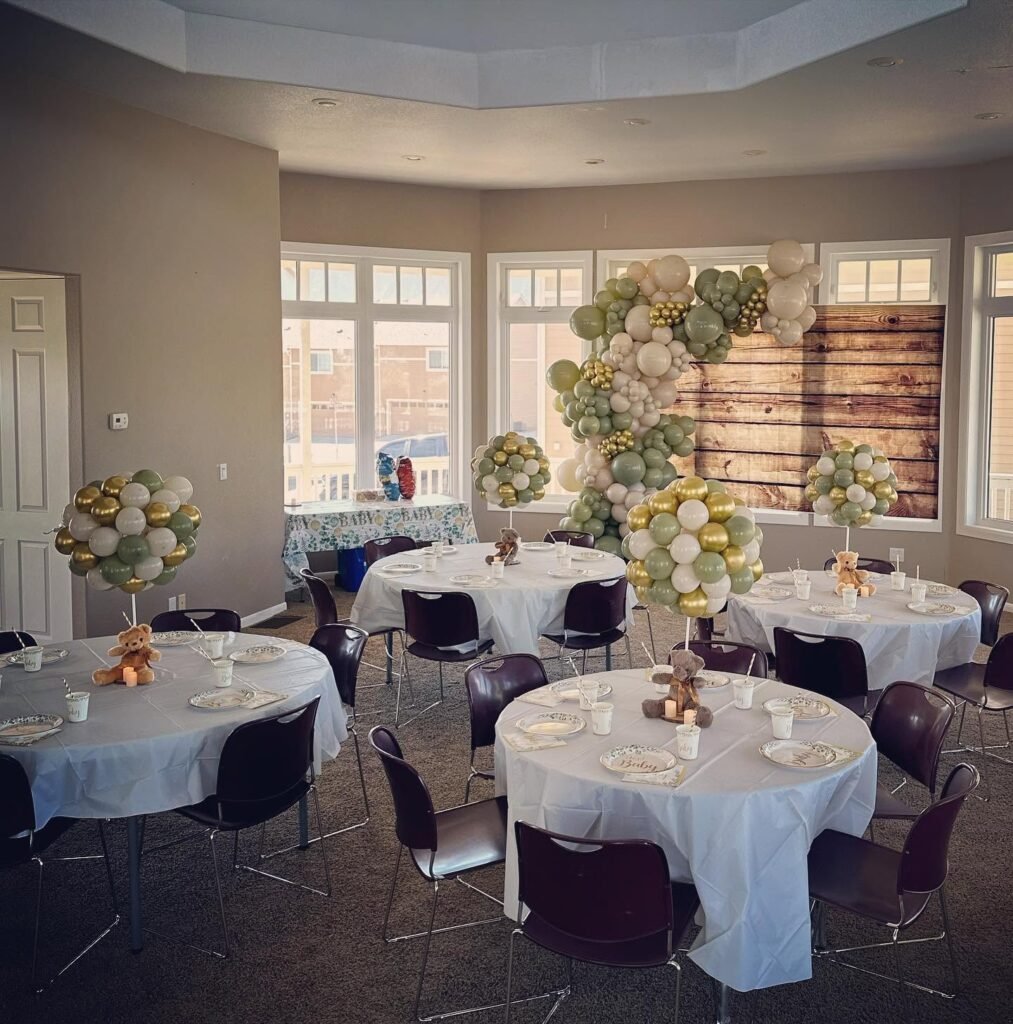
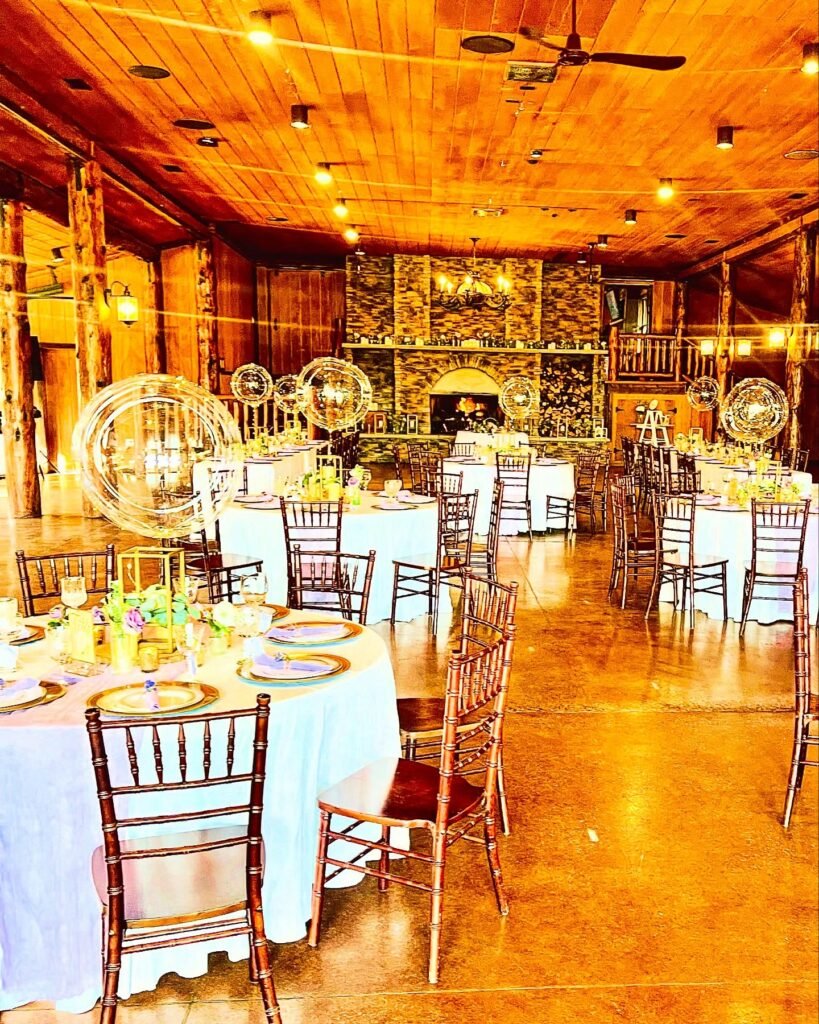
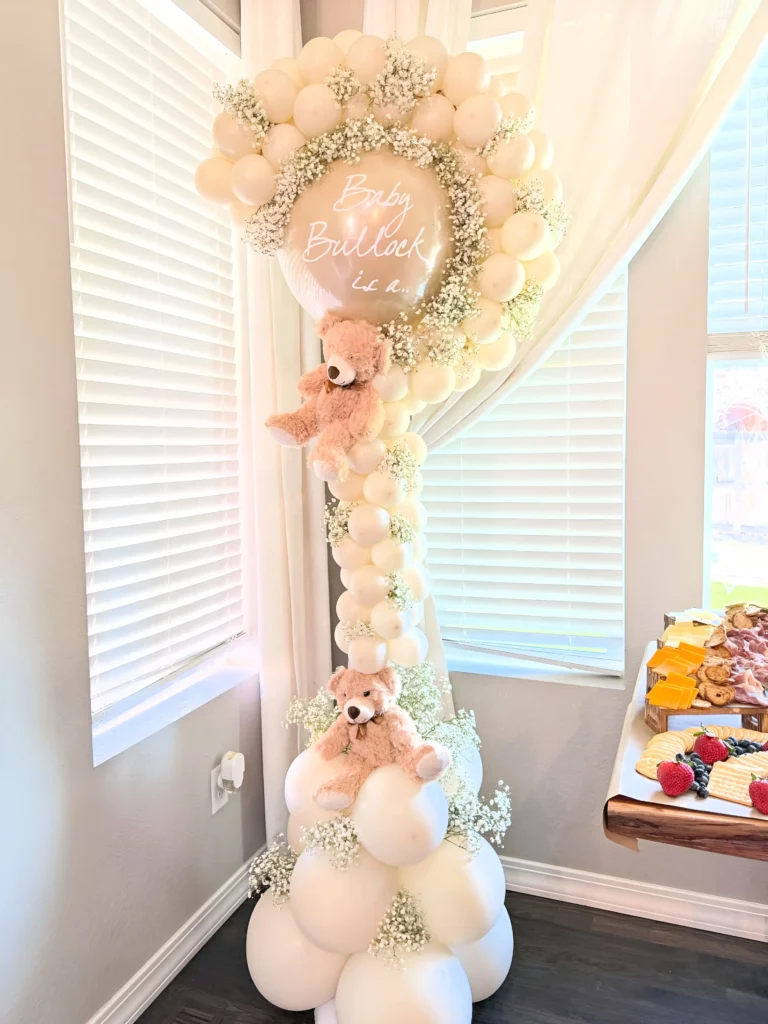
The style should shift a bit depending on what you’re celebrating. Knowing how to create balloon centerpieces also means choosing a style that suits the occasion. For birthdays, go bold, bright colors work best, and adding a number balloon in the mix is always a hit. Weddings look better with pastels and a touch of gold. Corporate events, keep it simple and stick to brand colors so it doesn’t feel out of place. Baby showers usually call for soft pink or blue, sometimes with white mixed in to soften things. These balloon centerpiece ideas aren’t fixed rules though, adjust them however fits your event.
DIY Tips That Actually Save Time
How to create balloon centerpieces on a budget or when you don’t have much time, a couple of shortcuts help a lot.
Small balloon centerpieces don’t need big balloons at all. Bunching smaller ones together often looks more detailed anyway. And if helium isn’t in the budget, just go air-filled; they’ll hold up for days without deflating.
Balloons on sticks centerpiece setups are probably the easiest version for a first timer since you skip helium completely. If you’re new to this, start there. These easy balloon centerpieces are pretty forgiving even if your first attempt isn’t perfect.
Mistakes Worth Avoiding
A few things quietly ruin an otherwise good setup:
- All balloons the exact same size
- Cramming too many together
- A base that’s too light, so it tips
- Too many colors with no real plan
Skip these and your centerpiece will already look more put together than most DIY attempts.
If You’d Rather Not DIY It
Not gonna lie, some weeks are just too busy to sit down and figure out how to create balloon centerpieces on your own, especially with everything else event planning involves. That’s where Turquoise Sky Events comes in.
Turquoise Sky Events is based in Colorado Springs and build custom balloon setups for birthdays, weddings, baby showers, and corporate events. You tell us the theme, we handle the rest, colors, sizing, placement, all of it. If you’re in or around Colorado Springs and want this off your plate entirely, it’s worth reaching out before your event date gets closer.
FAQ: How to Create Balloon Centerpieces
Q: How long does a balloon centerpiece actually last?
A: Air filled ones hold up about five to seven days. Helium-filled balloons usually stay floated for twelve to twenty four hours before they start sinking.
Q: What’s the simplest way to make one at home?
A: Sticks and a solid base, skip helium entirely. It’s the fastest method and still looks clean.
Q: Can I make balloon centrepieces without helium?
A: Yes, and honestly the balloons on sticks centerpiece style is built specifically for this, no helium needed at all.
Q: What style works best for a wedding?
A: Pastel shades with a bit of gold or white tend to fit wedding tables the best.
Q: What does hiring a professional decorator usually cost?
A: It really depends on the size and how detailed the design is, best to just ask directly for a quote based on your event.
Final Thoughts on How to Create Balloon Centerpieces
None of this is as complicated as it looks once you break it down. Learning how to create diy balloon centerpieces really just comes down to good colors, a steady base, and not rushing the placement. And if you’d rather have someone else handle it start to finish, Turquoise Sky Events in Colorado Springs can take care of the whole thing so you’re not the one gluing balloons the night before your party.